Used to be that flare was easy to induce simply by including any light source behind your subject. Then came multi-coated lenses whose primary goal is to eliminate flare. So for those of use who like to apply some flare to a shot now and then to soften the image, the job has become more difficult.
Here is a simple technique for adding extensive softening flare when taking a photograph.
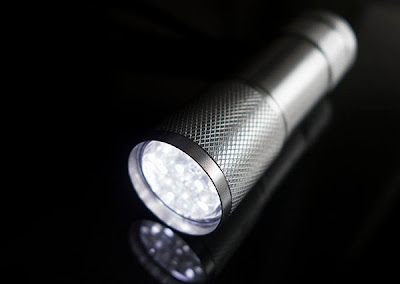
You simply shine a small flash light directly into your camera lens while taking the photograph. Hold the light very close, a couple of inches will do it, but varying the distance and position a bit can alter the effect.
 |
| I used this small LED light, but pretty much any light will do. |
 |
| In this shot you can see that the light is held farther away from the lens. This lessens the flare and created a bright circular area where there had been some distracting detail. The girls face is relatively untouched except for being a bit brighter on the left side. |
One thing I like about heavy flare is that is diminishes detail, blurs everything together, and you can alter the overall color to change the effect.
 |
| For this photo and the one below, the light was held very close to the front of the lens which left a flat, bright, hazy cast over the entire photo. It was easy to add a color cast -- blue in the example above, green below, and yellow on the bottom -- by altering the color balance later in Photoshop because the flare had already evened out the light by creating overall monochromatic haze. |

All photos were taken on a Nikon D800 with a Nikon 85mm f/1.4 lens. A wide open aperture helped to decrease the depth of field and increase the flare further.


Tidak ada komentar:
Posting Komentar